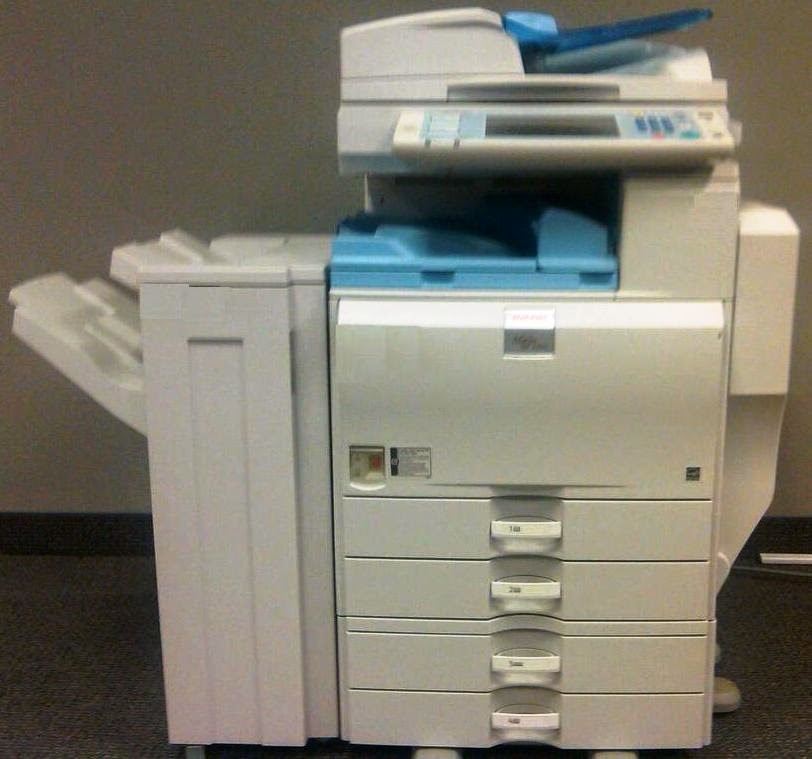
On any of the Ricoh Aficio MP series of multifunction copiers (MP 2852, MP C3300, MP 6002, etc.) you can store contacts for faxing or scanning in an address book. There are a lot of ways you can organize these contacts, and one way is by putting them into groups.
The steps in this article will guide you through creating a new group in your address book, and also adding users into that group. These steps are the same for all copiers in the Aficio MP series except for the ones without a touch screen or with a very small touch screen (such as the MP 171, MP 201, MP C305, and a few others). For these copiers, the steps will be similar, but not identical.
At the copier's operation panel, press the User Tools/Counter button (or just the User Tools button, on some of the larger copiers). From the User Tools menu, select System Settings. Next, select the Administrator Tools tab, on the far right. (On Ricoh copiers with a smaller screen, Administrator Tools will be a button on the screen, rather than a tab.)
From the list of available options, select the one labeled "Address Book: Program / Change / Delete Group." Then select New Program. Next to where "Group Name" is displayed, select Change.
Now you can type the name that you want to call the group. You can use the soft keyboard on the screen, as well as the number pad, to enter the name. When you are finished, select OK. Then select OK again.
You have now created your new group. To add a user to your group, select Exit and then choose the option for Address Book Management. Here you'll see all the contacts in your address book; select the one you want to add to the new group.
When that contact's information appears, go to the Add to Group tab on the right side of the screen. Select your new group from the list. (Unless you've created other groups, it should be the only one there.) Next, select OK, and this user will be added to the new group. You can repeat this process to add other users to the group in the same way, and when you are finished, just exit out of User Tools and back to the main screen.
(Originally published on Bubblews.com, January 2014)

No comments:
Post a Comment