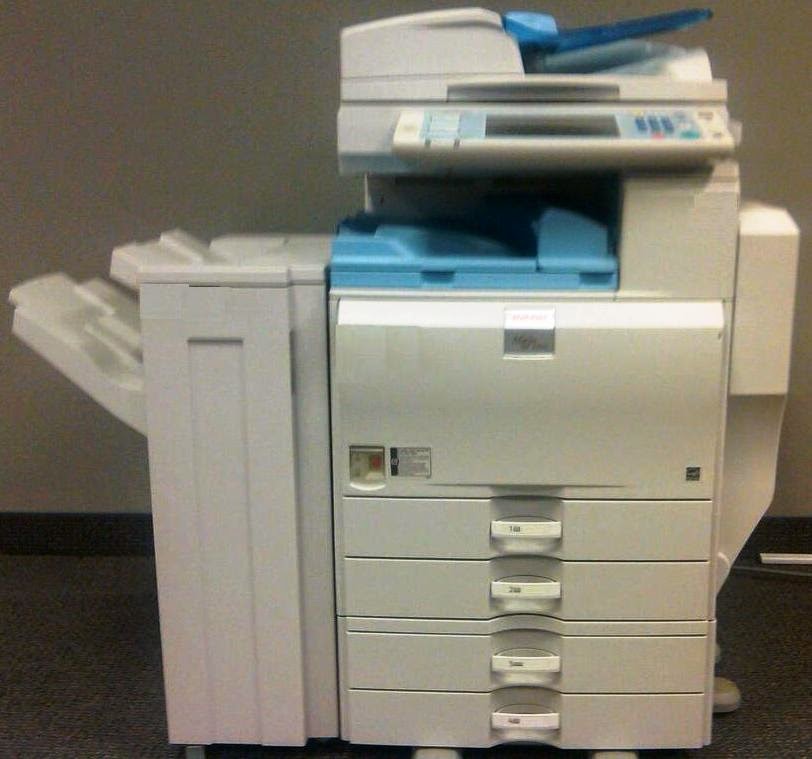
This article describes how to change the default scan settings for a Ricoh Aficio MP series copier. Just about any Ricoh Aficio MP copier with a color touch screen and the ability to scan can be configured using the procedure covered below, although for some models (including those with smaller touch screens) a few of the steps may be slightly different.
Press the Scanner button on the left side of the copier's operation panel (or select Scanner from the Home screen) to bring up the scanning screen. Then press the yellow Clear button to clear out any temporary settings that may have been set. The settings you see now (resolution, file type, etc.) are the default settings that the copier uses when you don't select anything different. You can change these settings to suite your needs.
The first step is to select whichever settings you want. If you want to change the default resolution to 300 dpi, go ahead and set that now. If you want to change the default file type to multi-page PDF, set that as well (under File Type). Select any settings that you want to change, but be sure not to change any settings that you want to remain the same.
Once you've selected all of the settings that you wish to change, press the Program button on the right side of the operation panel. Select Program as Default on the touch screen (it may be called something different, such as Program Current Settings as Default), then select Program. When asked to confirm your choice, select Yes. The settings you've chosen will now be the default settings for scanning.
The default settings for the main scanning screen and the simplified display scanning screen are separate, so if you want to change the defaults for simplified display, you'll have to do that manually. Press the Scanner button, then the Simplified Display button to bring up the simplified display scanning screen. Now select the scan settings you want to save as the default settings. Press the Program button, and on the screen touch Program. You'll be asked to confirm your choice; select Yes.
(Originally published on Helium.com, January 2014)
No comments:
Post a Comment