Showing posts with label configuration page. Show all posts

Monday, December 18, 2023

How to get the page count for a Lexmark T642 printer

Lexmark T642 printer

On many printers, when you want to find out the current page count or meter you print out a status page.  This page shows some basic information about the printer, including the page count.  Depending on the brand of printer, this status page will be called something different (HP printers call it a configuration page; Brother printers call it a user settings list) and there will be a different procedure for printing it out.  On the Lexmark T642 printer, this page is called a menu settings page, and it can be printed by following the steps below.

  • Press the Menu button on the printer's operation panel (located on the left side, with a picture of a key on it).
  • In the menu, the entry with the check mark next to it is the active entry.  Scroll down (using the down arrow on the operation panel) until Reports is the active entry. Press the check mark button (in the middle of the four arrows) to select it.
  • Menu Settings Page is the first option in the Reports menu, so it will already be the active entry.  Press the check mark button to select it.  The menu settings page will print out.
  • The page count will be listed in the Device Information section (probably on the last page).  "Page Count" will be the first entry in that section.

🛈 The Menu Settings Page is actually multiple pages.  Its exact length will be determined by the printer's configuration, network setup, and the accessories that are installed on it.

🛈 In addition to the page count, the Menu Settings Page also displays other information about the printer, such as the current toner level, a list of installed options, device settings, and network configuration.

🛈 These instructions also apply to other Lexmark models, including the T640.


(Originally published on Helium.com, 2011)

Friday, October 31, 2014

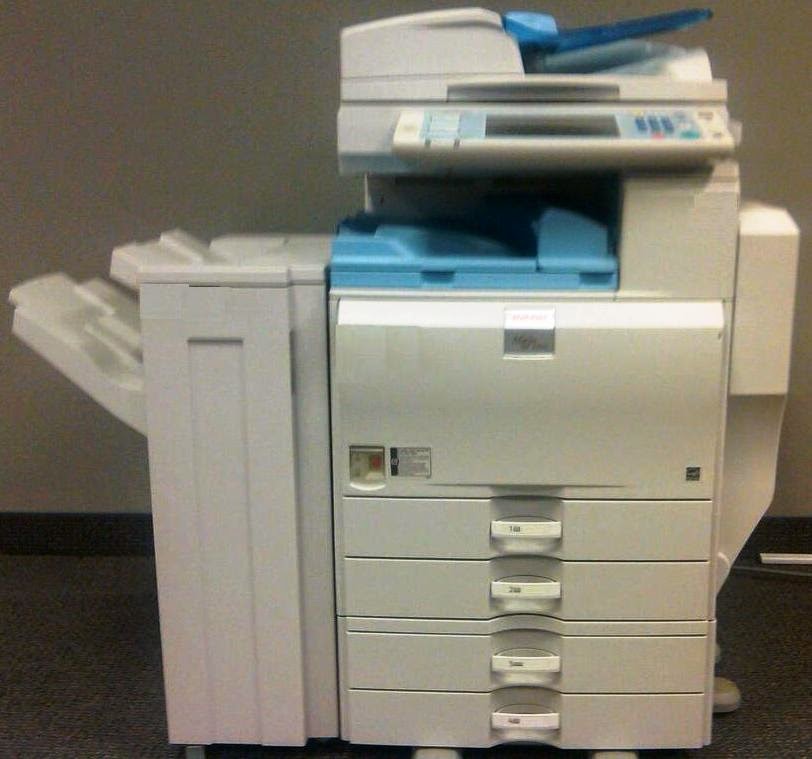
How to find the MAC address of a Ricoh MP series copier

If your Ricoh MP series copier has the capability to be used as a networked printer, then it has its own MAC address.  There are two styles of the MP series copiers: the ones that have touch screens (such as the MP2550 or the MP6000) and the smaller desktop models that don't have touch screens (like the MP2000).  The copiers with the touch screens are easy to recognize because the display screen is large and graphical, whereas on the other models the screen is tiny and displays mainly text.

The steps to find your copier's MAC address depends on which style of MP copier you have.  (The steps may vary for some individual models, but they should generally be the same across the board.)


For the touch screen models:

A.  Press the User Tools/Counter key (typically found to the left of the display screen).

B.  On the touch screen, select System Settings.

C.  Select the Interface Settings tab.

D.  Select Machine IPv4 Address on the touch screen.

The MAC address will be displayed on the screen, next to the IP address.


For the non-touch screen models:

A.  Press the User Tools/Counter key (probably in the upper right corner of the operational panel).

B.  Using the arrow keys, scroll down until you see System Settings, then press the OK key.

C.  Scroll to Interface Settings (or IF Settings) and press the OK key.

D.  Select Network.

E.  Select Machine IPv4 Address.

F.  There will be three choices along the bottom of the screen; press the corresponding key for MAC Address (probably the far right one).

The MAC address will be displayed on the screen.


If you would rather have a printout with the MAC address on it, you can print a configuration page on either style of machine.  For the touch screen models, press User Tools/Counter, then go into Printer Features and on the List/Test Print tab (the one that should be active by default) choose Configuration Page.  On the page that prints out, the MAC address will be located toward the bottom, in the "Interface Information" section.

For the non-touch screen models, follow steps A, B, and C above, and then instead of choosing Network, go to Print IF Settings List, and then press the Start key.  Two or three pages may print out, depending on the specific machine, but the MAC address will be located toward the top of the first page.

(Originally published on Helium.com, August 2010)

Thursday, July 3, 2014

How to Check the Toner Levels in a Ricoh Printer

Ricoh printers (both monochrome and color) will display a message on the screen that tells you when the toner levels are getting low, and then another message when the toner is completely empty. On color printers, you'll see individual messages for the different colors, so you could have a message telling you that the cyan toner is completely out at the same that you have a message saying the yellow toner is getting low.

While these messages are useful, it can also be helpful to check the toner levels before they get to that point, for example if you are placing an order for supplies and you want to know what colors are getting close to needing to be replaced. There are different methods of checking the toner levels for different printer models, so depending on what kind of printer you have, use one of the methods specified below.

For multifunction printers (MFPs) that can also scan and copy, you can print out a configuration page that will display all sorts of system information, including the current toner levels. To print the config page, press the User Tools button on the operation panel, and then from the menu that appears on the touch screen, select Printer Features. Under the first tab, List/Test Print, there will be a box that says Configuration Page or Config Page -- touch that option, and the configuration page will begin to print out.  (On some models, it may print two pages). Toward the top of the config page will be a set of boxes, and the number of boxes that are filled in represents how much toner is left in the bottle or cartridge. For color printers, there will be a different set of boxes for each color.

On printers that don't scan or copy, you can also print out a configuration page, but the procedure is slightly different. These printers don't typically have a User Tools button (if they do, you can follow the procedure above) so press the Menu button instead and then scroll through the choices until you come to List/Test Print.  Press the OK button, then scroll down to the Config Page option and press OK again.  The printer will spit out a page or two of system information, as described above, including the estimated toner levels.

On newer model color MFPs (ones with a touch screen that's not monochrome), you can view the toner levels without having to print anything out.  When you are looking at the Copy screen, there are two buttons at the bottom of the screen -- System Status and Job List.  Touch System Status, and the machine will show the current toner levels, using the filled and empty box representation just like on the config page. (Newer black and white MFPs also have the System Status screen, but for the toner level it will only show if it's okay or low.)

Depending on if the option has been enabled or not, some newer Ricoh MFPs will even show you the toner levels on the screen without you having to do anything.  On these models (from the Aficio MP series) the toner levels will be represented graphically at the bottom of the copy, print, fax, and scan screens, as either vertical bars (for color machines and some black and white machines) or a horizontal drawing of a toner bottle (for other black and white machines).  This representation will change as the toner levels decrease.

(Originally published on Helium.com, June 2010, and updated since then)