Whether you know it or not, Google may be tracking your search history. If you are logged into your Google account and are using Google as your search engine, there's a good chance Google is keeping a log of every search you make.
Luckily, it's easy to disable this web search logging. To start, go to http://history.google.com. (You may be prompted to log in, even if you've already done so.)
The Web & App Activity page will load. If under the "Get More out of Google" heading you see a link labeled "Get started," then Google is not currently set to save your search history. However, you can follow the steps below if you like just to verify that the search logging is disabled.
Click on the menu icon in the upper left corner (the three horizontal lines). On the menu that appears, click on Activity Controls at the bottom.
If search logging is enabled, you will see this on your screen:
Click on the blue slider bar. A confirmation window will pop up asking if you're sure you want Google to stop tracking your searches. Select Pause. The slider bar will turn gray, and you'll see this displayed:
Now you've stopped Google from keeping track of your search history. However, any previous searches that were tracked are still saved. To delete the stored search history, go back to http://history.google.com. (You may be asked to log in again.)
Any searches that have been stored will be displayed on this page. Check the box to the left of any items you wish to erase, and then click Delete at the top of the screen. When the confirmation window loads, click Delete again.
Monday, August 31, 2015
Saturday, August 29, 2015
How to cancel a print job on a Ricoh printer
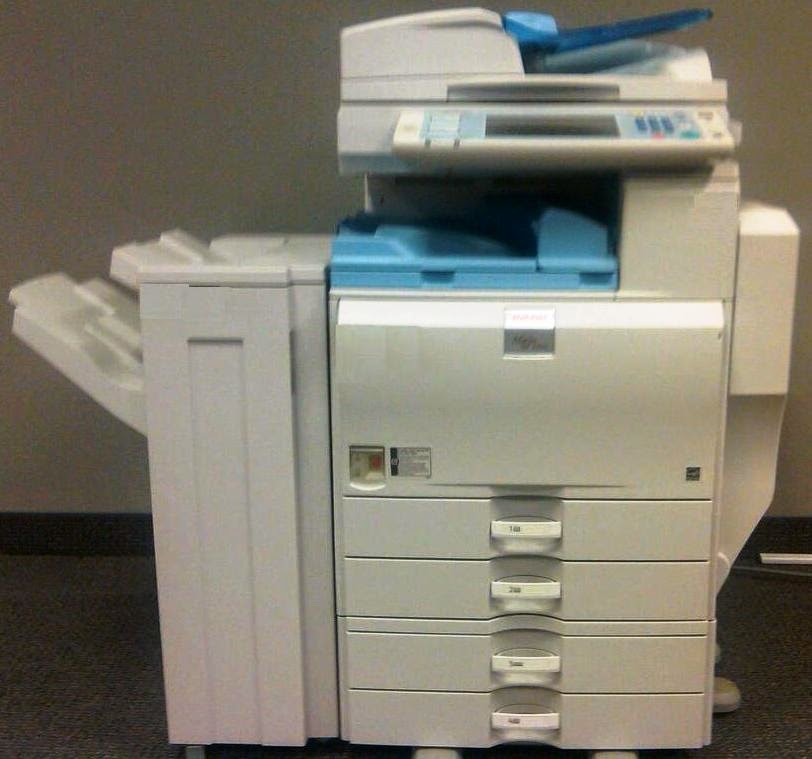
On most Ricoh printers, if you need to cancel a print job you can do it directly from the device. On Ricoh multifunction printers with a touch screen, press the Printer button and then either select Job Reset on the screen or press the red Stop button. You'll be asked to confirm your choice, and decide whether you want to cancel the current job or all pending jobs.On Ricoh printers without a touch screen, you can probably cancel a print job by pressing the Job Reset or Cancel button. If the printer has a display screen, you may be asked to confirm your choice.
For printers that are connected to a network, you can also cancel print jobs from your computer. Open a web browser and navigate to the printer's IP address. (If you don't know the printer's IP address, you can find it by printing out a configuration page.) When the Ricoh web server page loads, click on the Login button in the upper right corner. Enter the copier's user name and password, then click Login or press <ENTER>.
Hover over Device Management on the left side of the screen, then select Reset Printer Job. Select either Reset Current Job or Reset All Jobs, then confirm your choice.
Thursday, August 27, 2015
How to clear your Adobe Flash Player history on a Chromebook
- Click on the status bar in the lower right corner of the screen (where the time, battery strength, and network signal are displayed).
- Click on Settings.
- Type "flash" into the search bar.
- Click on the "Content settings" button.
- Click on the "Manage exceptions..." button.
- Click on the "Adobe Flash Player storage settings..." link.
- The Website Storage Settings Panel will load in Chrome; click on the "Delete all sites" button.
- Click on the "Confirm" button and the list of websites will be erased.
Tuesday, August 25, 2015
How to remotely restart a TP-Link TL-PS110U Print Server
The TL-PS110U has a web interface that you can use to remotely manage the print server. To access the web interface, open a web browser, type in your print server's IP address, and press <ENTER>. If you haven't changed it from the default, the IP address will be 192.168.0.10. (If you don't know the print server's IP address and you are on a Windows Vista or newer computer, you can use the network map to find the IP address.)
The TP-Link web setup page will load. From here you can view and change all sorts of settings for your print server. To reboot the server, click on the Restart button at the top of the page.
A message will appear asking if you're sure you want to restart. (Note that any current or pending print jobs will be canceled.) Click OK.
The print server will reboot, and a message stating that will be displayed. Once the print server has finished shutting down and restarting, the web interface will reload.
Monday, August 24, 2015
How to find the IP address for a Samsung Galaxy Tab 4 tablet
- From the Home screen, tap Settings. (If you don't see the Settings icon, tap the app list icon in the lower right corner, with the small 4x4 squares, and then select Settings.)
- If it's not already selected, tap Connections at the top of the screen.
- If it's not already selected, tap Wi-Fi in the left pane.
- Tap the network you are currently connected to (the first one on the list on the right side; it should say "Connected" underneath the network name).
A box will pop up showing a list of details about the network connection, and at the bottom of the list will be the device's IP address.
Saturday, August 22, 2015
What to do when the Attach button in Outlook Web App doesn't work in Chrome
If you are using Outlook Web App for your email through Chrome and the Attach button does not work when you are composing an email, there is an easy fix for this problem (though it's only a short-term fix).
The reason the Attach button won't work is because the Microsoft Silverlight plugin is either not installed or has been disabled. Chrome will soon be discontinuing the use of Silverlight and other NPAPI plugins, but in the meantime you can enable Silverlight and make use of OWA's attach function.
If you need to download Silverlight, you can download it from Microsoft here. Once you have it installed, this article shows you how to enable Silverlight in Chrome.
As a workaround, if you can't install Silverlight for some reason (or don't want to) when you log into Outlook Web App, select the "Use the light version of Outlook Web App" option (below where you specify if you are using a public or private computer). When you run the light version of OWA, attachments are loaded differently, and you can add an attachment to your email without Silverlight.
UPDATE: Here is a simple JavaScript workaround to bring the attachment functionality back to OWA in Chrome, without having to use the light version:
http://tech-in-check.blogspot.com/2016/01/how-to-solve-chrome-not-allowing-you-to.html
The reason the Attach button won't work is because the Microsoft Silverlight plugin is either not installed or has been disabled. Chrome will soon be discontinuing the use of Silverlight and other NPAPI plugins, but in the meantime you can enable Silverlight and make use of OWA's attach function.
If you need to download Silverlight, you can download it from Microsoft here. Once you have it installed, this article shows you how to enable Silverlight in Chrome.
As a workaround, if you can't install Silverlight for some reason (or don't want to) when you log into Outlook Web App, select the "Use the light version of Outlook Web App" option (below where you specify if you are using a public or private computer). When you run the light version of OWA, attachments are loaded differently, and you can add an attachment to your email without Silverlight.
UPDATE: Here is a simple JavaScript workaround to bring the attachment functionality back to OWA in Chrome, without having to use the light version:
http://tech-in-check.blogspot.com/2016/01/how-to-solve-chrome-not-allowing-you-to.html
Friday, August 21, 2015
How to share a printer in Windows 7
Click on the Start button (Windows orb) in the lower left corner of the screen (or press the Windows key on your keyboard). When the Start menu appears, select Devices and Printers. Right click on the printer you wish to share. From the context menu, select Printer Properties. Select the Sharing tab.
Click the box next to "Share this printer" to place a check mark there. A default share name will be displayed for your printer, which may be the same as the printer's local name. You can change this name if you want, or leave it how it is. If you need to add a 32-bit driver or 64-bit driver (if you are sharing the printer with operating systems that may not use the current driver you have installed) you can do so by clicking the Additional Drivers... button and following the instructions to browse for the other print driver version(s).
Once you have the settings how you want them, click OK at the bottom of the window to close the window and apply the share settings.
Subscribe to:
Posts (Atom)