DHCP (Dynamic Host Configuration Protocol) is a way for devices to automatically obtain IP addresses when they log on to a network. A network-connected device -- such as a printer -- that uses DHCP need only to be turned on, and it will request and receive an IP address from the network's DHCP server. DHCP eliminates the need to manually assign an IP address to each device.
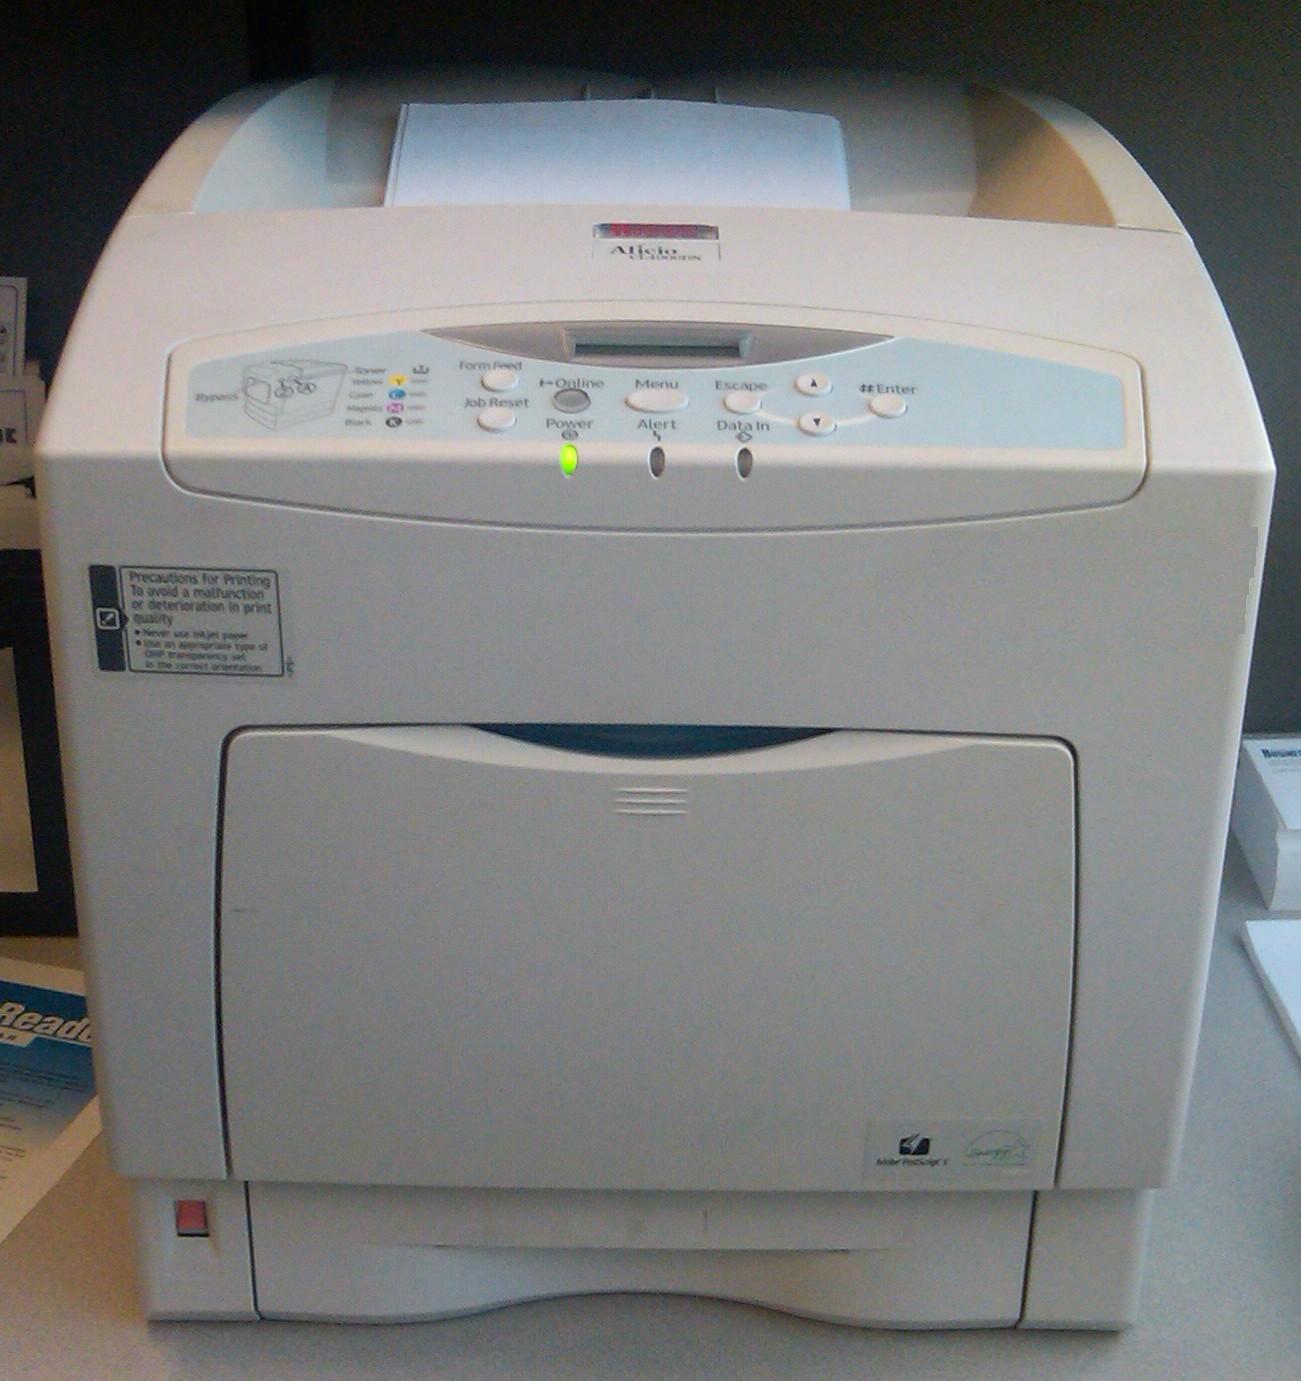
DHCP can be enabled on a Ricoh Aficio CL4000DN printer one of two ways: either by logging in to the Web Image Monitor from a connected computer, or by using the printer's operation panel. To enable DHCP right from the printer, follow the steps below. (These instructions will also apply to similar printer models, such as the C400DN, C410DN, and C411DN, although some of the configuration settings may use different wording.)
- On the printer's operation panel, press the Menu button (directly beneath the display screen).
- Using the down arrow button, scroll down to Host Interface, then press the #Enter button to select it.
- Scroll down to Network Setup (called Network on some models) and press #Enter.
- The first option will be DHCP; press #Enter to select it.
- Scroll down to On and press #Enter.
- DHCP is now enabled. Turn the printer off and back on (the power switch is on the lower left side of the front of the printer, next to the paper tray) to allow the printer to begin using DHCP.
Things to note:
- If you've assigned an IP address to the printer already, enabling DHCP will override that assigned address.
- If you need the printer to have a permanent (static) IP address, make sure DHCP is disabled, and then manually assign the printer an open IP address.
(Originally published on Helium.com, 2011)

No comments:
Post a Comment