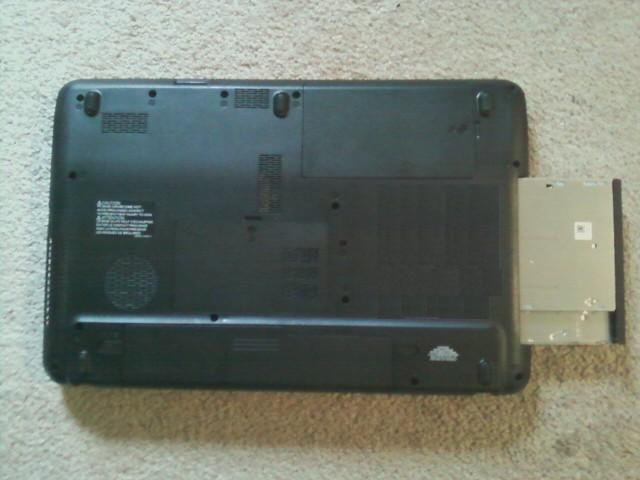
Toshiba Satellite C655D series laptops come with an optical drive installed. However, this drive may eventually fail, or you may want to replace it with a different drive. Removing and reinstalling an optical drive on this series laptop is very easy to do; just follow the steps below.
1. Turn the laptop off
Before removing the CD/DVD drive, remove any disc from the drive (if there is one) and then shut the computer down.
2. Remove the screw
Close the laptop's lid and turn it over so you are looking at the bottom of the computer (like in the picture above). There's one screw securing the CD/DVD drive in place, labeled "F3". Remove this screw using a small or precision Phillips screwdriver.
🛈 The screw is extremely small; be careful not to lose it when you take it out.
3. Remove the drive
With the screw out, grasp the edge of the drive and slide it out, away from the laptop. It should slide easily.
4. Install the new drive
Slide the new drive into the hole left by the old drive, connector-side first. Once it's in place, secure it using the screw you removed in step 2.
5. Test the new drive
Turn your computer on and test the new optical drive by opening it, inserting a disc, closing it, and seeing if the laptop recognizes the disc. If you have a driver for the new drive, install it now.
(Originally published on Helium.com, 2012)

No comments:
Post a Comment