If you don't have an email server but you have a Gmail account, you can use Google's SMTP server for scanning to email through your Gmail account. Instructions for doing so can be found here: How to use Gmail as a free email server for your scanner.
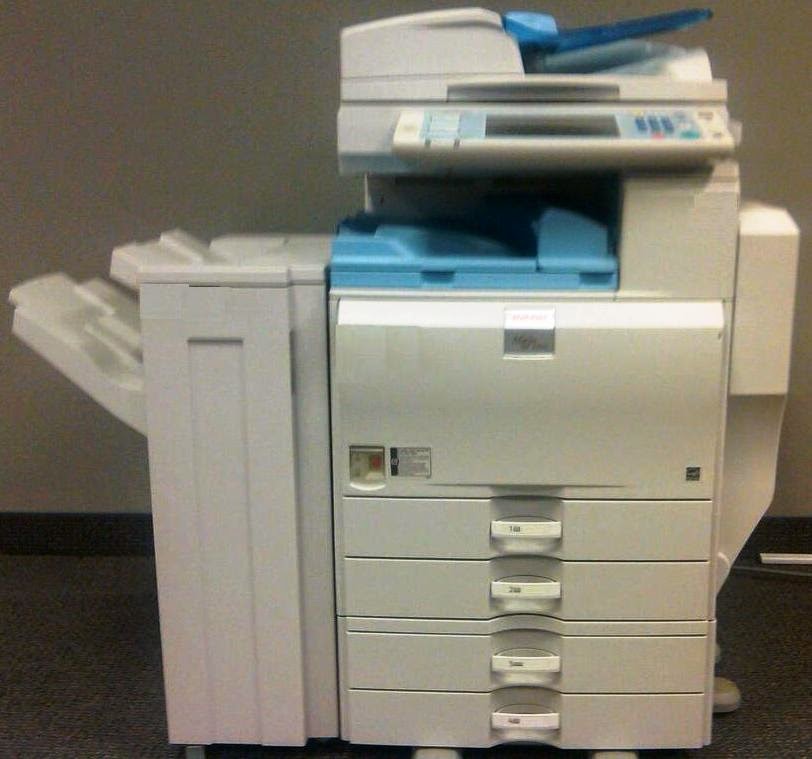
Entering this information into the copier is not hard to do, and the steps below will show you exactly where to enter everything. These steps are nearly identical for all Ricoh MP series copiers except for some of the smaller models -- such as the MP 2500, MP 2000, MP 171, MP 301, and a few others -- but for those models the steps will still be quite similar.
To begin programming your copier for scanning to email, press the User Tools/Counter button on the copier's operation panel. Then on the touch screen, select System Settings and select the File Transfer tab.
Almost all of the email settings you will need are located on this page. Select SMTP Server and input your email server's host name. (If you don't have DNS configured, you will need to enter the SMTP server's IP address instead of its name.) Underneath the name, select SSL if your server requires it (and if it appears as an option -- some of the older copiers will not have the SSL option). If the port your server uses is different than the default port (25 if not using SSL, or 465 if SSL is enabled) enter the correct port number on this screen as well. If there is a button labeled Connection Test, select this button to verify that the copier can connect to the SMTP server. Then select OK in the upper right corner to save your information.
The next setting is SMTP Authentication. If your email server does not require authentication, you can skip this step. If the email server does require authentication, select this option and enter the user name and email address -- which may both be the same -- and the password. (You'll be prompted to type the password twice, to confirm it.) For most servers, you can leave the encryption setting to Auto, unless you know that your server requires you to change it. Then select OK to save the information you entered.
Next, look for a setting labeled Administrator's Email Address and select it. (If you don't see it, scroll down to the next page.) Enter the email address that you want to appear as the "from" address when you send scans from the copier. Unless your email server requires it, this does not have to be a "real" email address. For example, you could use "scanner@company.com," or something similar. Then, once you've entered and saved this email address, you'll be returned to the File Transfer menu. Locate the setting labeled Auto Specify Sender, and set it to On, then select OK.
Now just exit out of User Tools and give the copier a minute to apply the new information, and your scan to email function should be all set up and ready to use. You can either enter email addresses manually, or store them in the copier's address book. The article linked to below will give you instructions for adding email addresses to the address book.
- How to save an email address on a Ricoh MP series copier
(Originally published on Bubblews.com, December 2013)
No comments:
Post a Comment